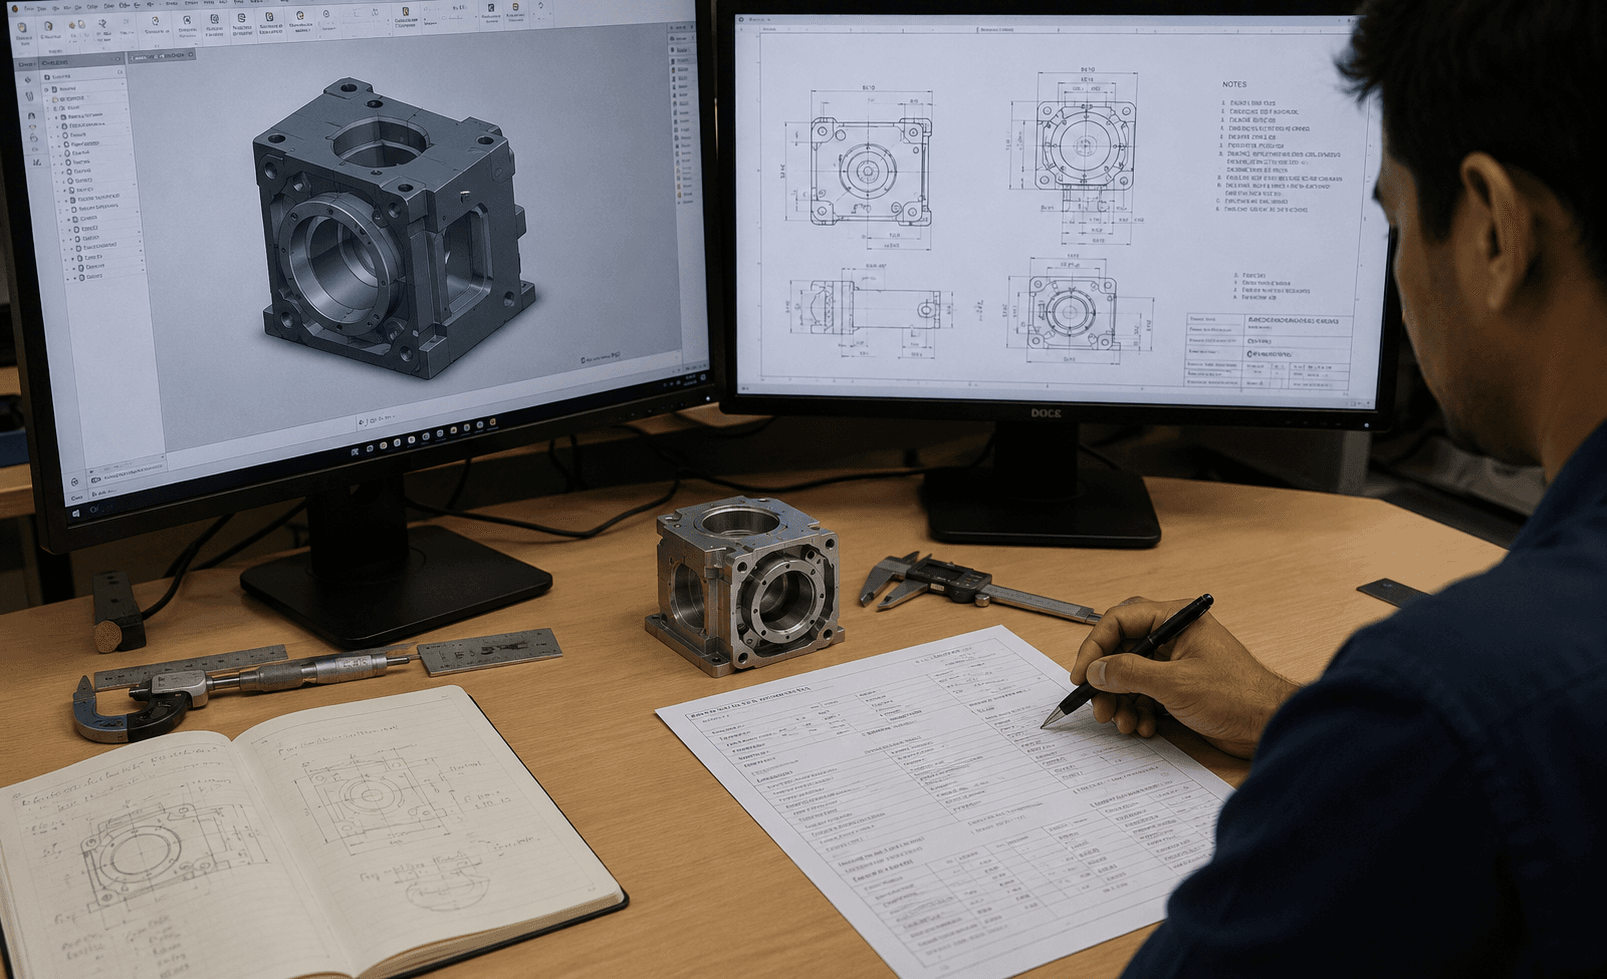
You have a part you need manufactured, and you keep getting the same response: send us the drawings. What you have is a concept, a CAD model that is not fully documented, or a prototype that works — none of it the dimensioned, toleranced drawing package a manufacturer wants before quoting.
So the quotes either do not come, or arrive padded because the vendor is pricing in everything you have not specified. This is the normal starting position for an early hardware team, not a step you skipped.
The drawings can be built from what you already have. That work, not the manufacturing, is the task in front of you. What it takes depends on which of three positions you are starting from.
Identify your starting point
How much work stands between you and a quotable spec comes down to how much of the design is actually done. The three positions below run from “the part still has to be designed” to “the part is designed but not documented.”
A concept or sketch only
You know what the part has to do and roughly its form, but there is no model. This is the most work, because the geometry itself still has to be designed, which means the dimensions, the material, and how it interfaces with whatever it mounts to are all still open decisions.
A CAD model that is not production-ready
The geometry exists, but the file carries no drawings, no defined tolerances, no material or finish callouts, and has not been checked against any manufacturing process. The most common starting point. The work is documentation and a manufacturability pass, not design from scratch.
A working prototype
A 3D print, a machined one-off, or off-the-shelf parts adapted to prove the concept. It confirms the part functions, but it was built to work once, not to be produced repeatably at quantity or at cost.
Starting from a concept or sketch
The work begins with design: converting what the part has to do into defined geometry, then into a specification a vendor can read. A bracket that locates a motor at a fixed angle and carries its load, for example, has to become a modelled part with real dimensions, a chosen material, and defined interfaces to everything it touches.
The decision that drives everything downstream is manufacturability. A part designed without reference to how it will be made is routinely expensive or impossible to produce, and gets redesigned once the first quotes come back. Designing with the process in mind from the start — which is what design for manufacturing (DFM) means — avoids that loop, and costs far less to apply before tooling exists than after.
Process selection happens alongside the design, because the two constrain each other: a part intended for die casting is shaped differently from the same part intended for machining.
Starting from a CAD model
A model on its own is rarely enough for an accurate quote. What it needs is the documentation layer that tells a manufacturer exactly what to make and what to hold:
- Dimensioned drawings, stating the critical measurements, not just a 3D file the vendor has to interpret.
- Tolerances, marking which dimensions must be held tight and which can vary. This is one of the largest single drivers of cost, because every tight tolerance adds machining time, inspection, or scrap.
- Material and finish callouts, so grade and surface treatment are specified rather than assumed.
- A DFM pass, to flag features that are needlessly expensive or cannot be produced as drawn.
Without these, a vendor either declines to give a firm number or builds the uncertainty into the price. With them, quotes come back faster, lower, and comparable across vendors, because everyone is pricing the same defined part.
Starting from a prototype
A prototype proves the part works. It does not prove the part can be made repeatably at quantity, and closing that distance is the work here. Three things typically change on the way to a production part.
The geometry often needs adjusting for the production process, which is rarely the one used to prototype: features that print easily can be awkward to machine or mold. The material usually changes, since a part 3D-printed in plastic to check fit is not the part you produce in an engineering-grade material. And tolerances and cost move once the part is made repeatably to a consistent standard, rather than once, to work on a bench.
The prototype is a reference, not a final design. The production version has to be redesigned deliberately for the process and volume actually needed.
What this step costs
This is a one-time cost ahead of the per-part price, and it scales with how unfinished the input is. A near-complete CAD file that needs drawings and a DFM check is a small job. A sketch designed from scratch is a larger one, because the design itself is the bulk of the work. A prototype falls between the two, depending on how much has to change for production.
Three things move the number: how much design is left to do, the complexity of the geometry, and how tight the tolerances run. Whatever it comes to, it is always less than the cost of finding out after tooling that the part cannot be made as designed.
Where it gets complicated
Most new parts can be made. A few cases are worth flagging before you start.
- A concept whose function is not yet settled cannot be documented, because nothing is fixed to specify, and the design has to wait on the decision.
- A part that needs tolerances the prototype never had to meet can mean real rework, since a proof of concept that works loosely and a production part that holds a fit are different objects.
- A design that runs fine as a one-off but fails at volume is common, and the later it is caught, the more it costs.
- Geometry that no affordable process can produce will force a redesign regardless of how clean the model is.
None of these stop a project. They are the reasons to get the design reviewed before money goes into tooling.
What to send to get started
The minimum to begin, by starting point:
- Concept or sketch: a drawing or description of the part, and what it has to do.
- CAD model: the file, plus the critical dimensions and the intended material.
- Prototype: the physical part, rough dimensions, and the target quantity.
From there, the design-to-spec work can be handled for you: send what you have, get back something a manufacturer can quote and make.
FAQ
Can't I just send the CAD file and skip the drawing?
Yes, if the file carries everything a manufacturer needs: tolerances, material grade, finish, and inspection intent, not just geometry. Most models do not include this by default, so check what is actually defined in the file before sending it. If it is missing, that layer gets added before the part can be quoted accurately.
What's the difference between a prototype and a production part?
A prototype proves the part works. It is not designed for the process, material, or tolerances needed to make it repeatably at quantity. The geometry, material, and cost typically all shift once it is redesigned for production.
Why does an over-toleranced or under-defined part cost more to quote?
A vendor prices what they can see and treats anything unspecified as risk. An undocumented model or a part with no defined tolerances gets padded quotes, inconsistent quotes, or none at all, because the vendor is guessing at what actually matters.
Do I need a full drawing, or is a documented CAD model enough?
A documented model, with dimensions, tolerances, material, and finish defined, is enough. What matters is that the information exists in a form a manufacturer can quote from, not the specific file format.
Can EsyProcure help if I only have a concept or a sketch?
No. Turning a concept into defined geometry is design work, and it needs a design specialist first. EsyProcure comes in once you have a model, a prototype, or a drawing to start from.
I have a working prototype but no drawing or model. What are my options?
This is handled directly. A physical part that works can be reverse-engineered: measured and rebuilt into a spec and drawing. This is a different process from documenting a CAD model, and it is covered in a separate article.